
Because the wall is old and outdated, you have moved to a new house, or for some other reason, the wall in the home requires a different look.
Whatever the reason, adding color to your walls improves the appearance of your home.
There are numerous professional painters available to complete this task. It is important to adhere to your whether you want to paint the walls at home.
When you’re going to paint the walls at home.
Would you like to know what the painting procedure is, such as what to do or how not to do it when painting walls, and what equipment is required before and after the painting process?
You are aware of it. Painting is certainly not a complicated task to complete. You know a little something about paintings, have some patience, and know a few techniques.
Let’s talk about how to paint walls at home.
11 Steps for Painting the Walls at Home
The following are the most important things to remember when painting the home’s walls. Before you begin painting, spend some time researching the subject.
And to address your point, here are all the steps that can be taken when painting.
Step 1: Create a Plan
First but probably most importantly, you must devise a well-defined strategy for painting walls.
Decide on the color of the paint, the tools you will use, how you will paint the walls, and how much money you will spend.
Also, make your to-do list. Choose a color, research wall designs, and put your ideas on the wall. Make a good plan, which will lead to you doing your job properly and avoiding a stress-free work environment.
Step 2: Purchase the Painting Equipment
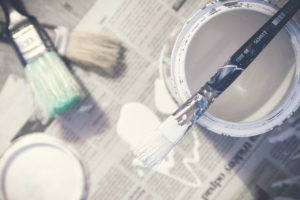
It is important to buy painter’s supplies. Because these are important tools for painting. These will allow you to paint like a pro.
It is like a one-time purchase that can be used for a long time. When doing it for the first time, you’ll need to buy these kinds of tools.
The painting accessories used for painting are listed below.
- Paintbrush
- Rollers
- Paintbox
- Primer and filler
- Sandpaper
- Tape to measure and painter’s masking tool
- Painter’s Blue tape
- Drop cloth
- Putty knife
- Step ladder
- Paint roller extension pole
- Paint tray or paint
- Paint can opener and paint kettle
- Screwdriver
- Goggles for painters
- Mask, gloves, and shoe covers
- Bucket and sponge
Refer: The 9 Essential Tools and Equipment for Professional Painting
Why Should You Buy This Equipment?
These are the painting supplies that are used for painting walls at home. It is a very important and basic item used in painting walls at home.
- A drop cloth is often used to prevent paint stains on the floor and furniture.
- Painter’s tape to protect the places you don’t want to paint; place it in windows, door frames, the base of the door, switchboards, and so on,
- Ladder for the highest place to paint.
- Painters should wear goggles, gloves, and a mask to protect themselves from dust and stains.
Step 3: Protect the Furniture and Floors
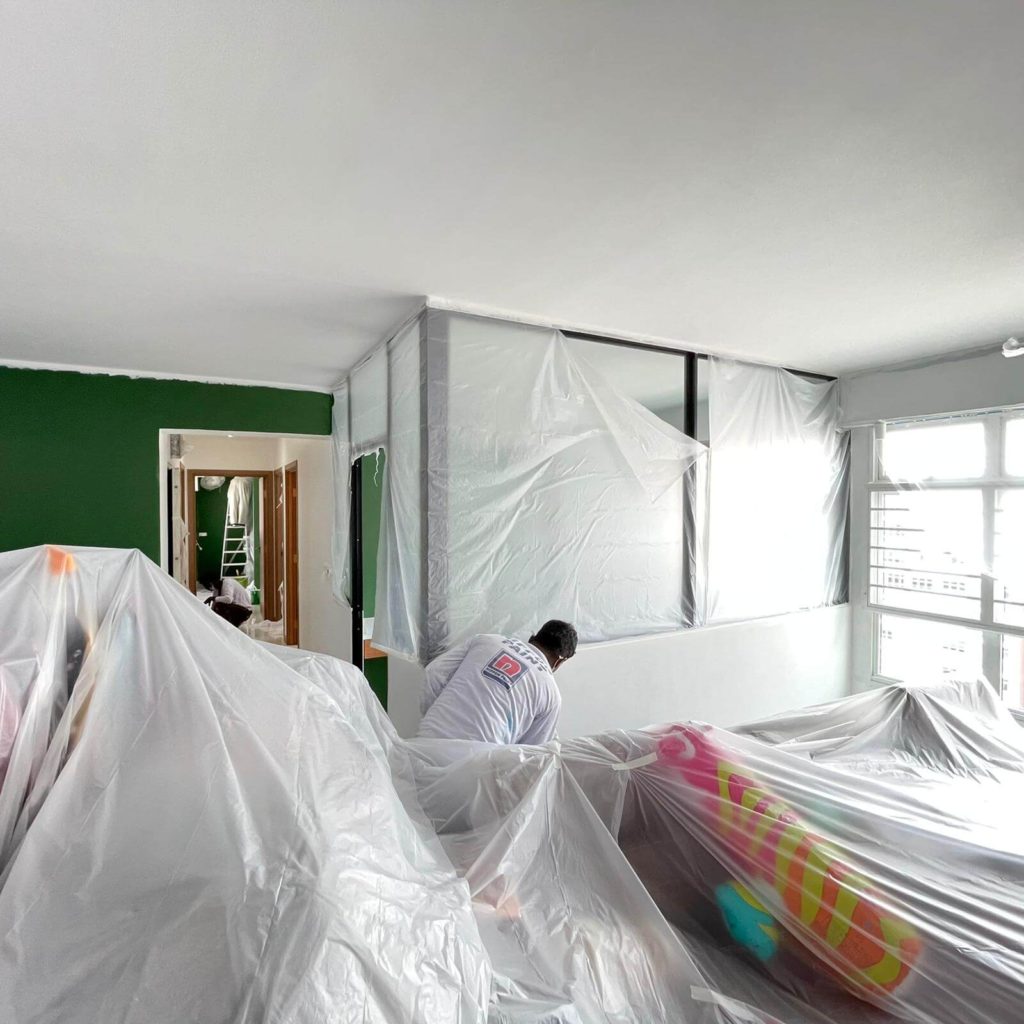
Remember to cover the floors and furniture before you begin painting. To protect yourself from paint, use a drop cloth.
Comparing drop cloth materials, a canvas drop cloth stands out as the best choice. It is extremely durable and absorbent.
Place the furniture in the center of the room and cover it with a drop cloth. Remove the fan, lights, and lamps, and cover the switches.
Refer: How to Paint a Room Professionally – Step By Step Guide
Step 4: Examine the Walls
There is no need for an inspection when the walls are brand new. You’re going to repaint the walls and inspect them for cracks, molds, holes, dents, or other flaws.
This will aid in the application of primer and fillers to the wall surface. This allows you to achieve a perfect and smooth finish when painting.
Mask the item with painter’s tape before applying the primer. The window frames, door frames, the floor’s bottom, and any other areas that won’t be painted should be taped. The tape protects against paint spills.
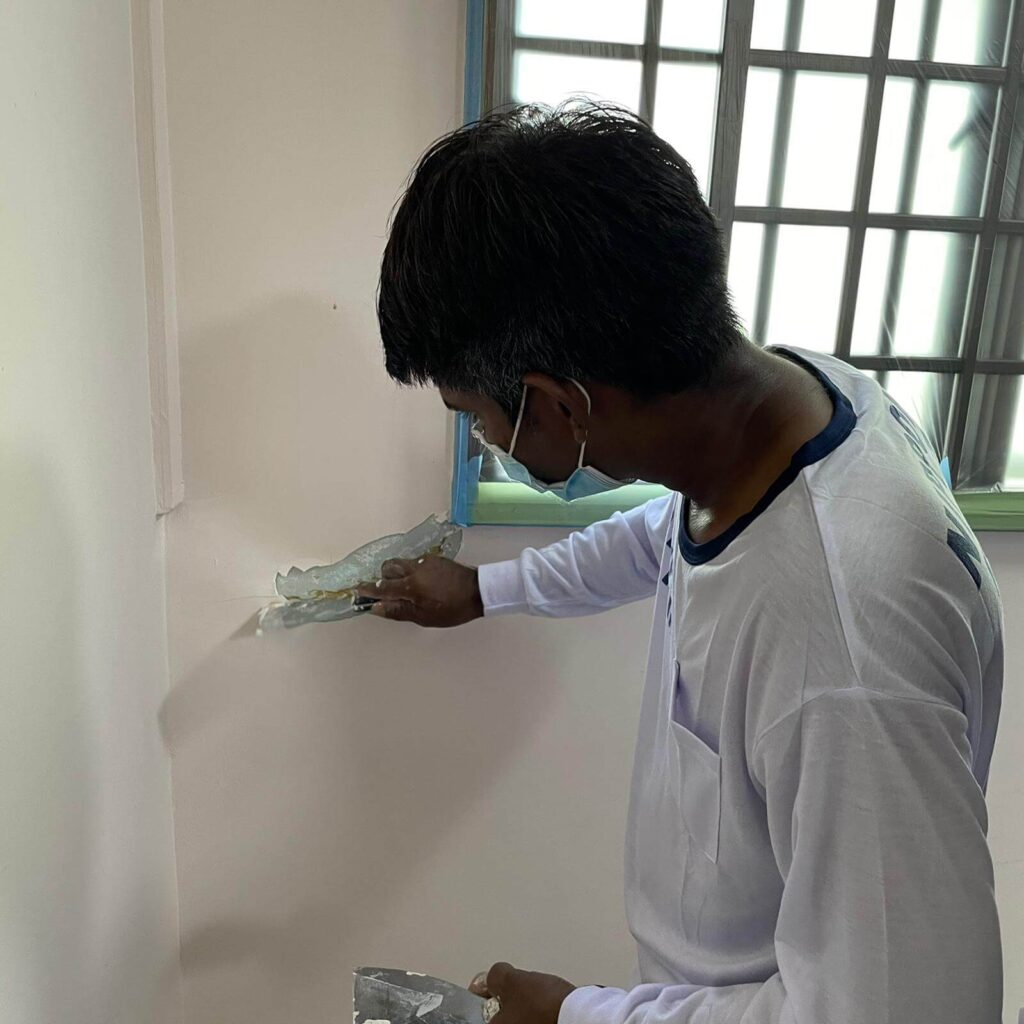
Step 5: Before You Begin Painting, Prepare the Walls

In case there are any holes or cracks in the walls, use the filters to level the surface. Remove any dust and old paint from the wall’s surface.
If there is mold on the wall,you must remove it with a sponge. Then, use the water to wash the wall. Before painting, apply a few layers of filler or spackling paste to the wall.
To remove the excess component from the surface, use sandpaper to smooth it out.
Refer: 10 Steps to Repaint Your Interior Walls Like a Professional
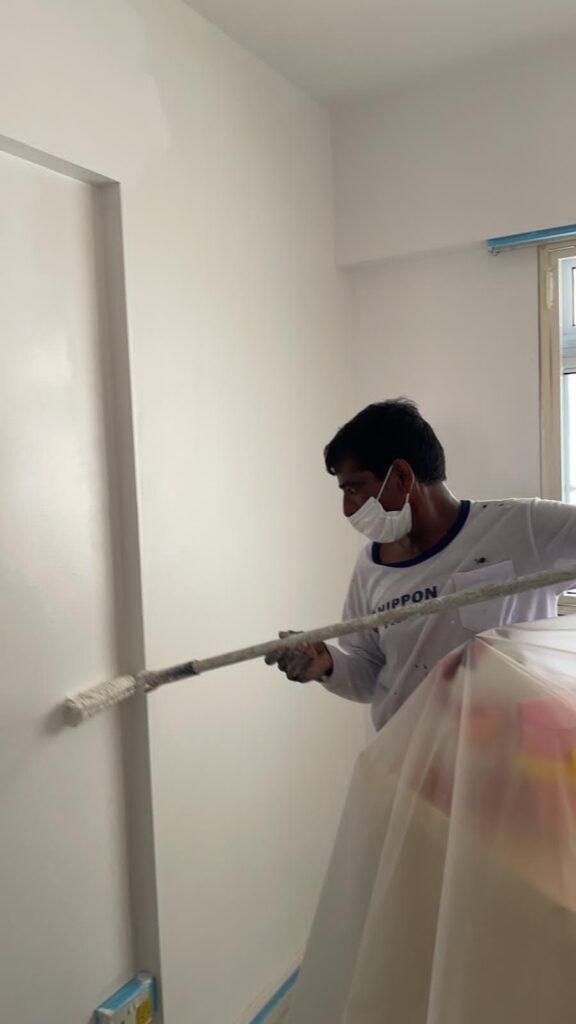
Step 6: “Cut in” the Corners
“Cut-in” is a significant painting technique. When the rollers cannot reach the area to paint, you can use cut-in techniques to color that area.
Corners, edges, ceilings, door and window frames, baseboards, and hinges in areas where rollers are not reached. So you’ll need to mark two or three inches in the wall corner with a pencil or pen.
You will use tiny brushes to paint in those areas. It is also used as a primer.
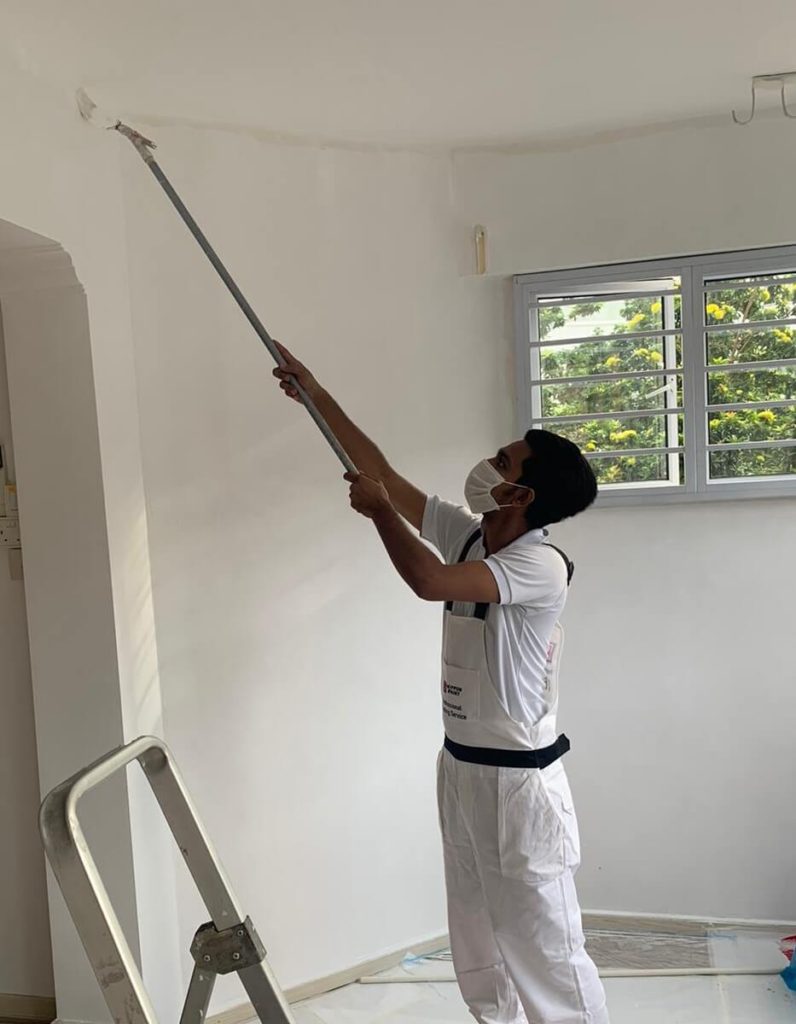
Step 7: Use the Primer on the Walls
Use a primer to prevent mold and cracks if the wall is new. To lighten the dark colors on a dark-painted wall before recoloring it with a light color, apply three coats of white primer.
It is not necessary to apply primer when repainting a wall; it is dependent on the life of the wall. After you have applied a few coats of primer, wait for each coat to dry for two to three hours before applying the next one.
Refer: What Will Happen If You Don’t Prime Your House Before Painting?
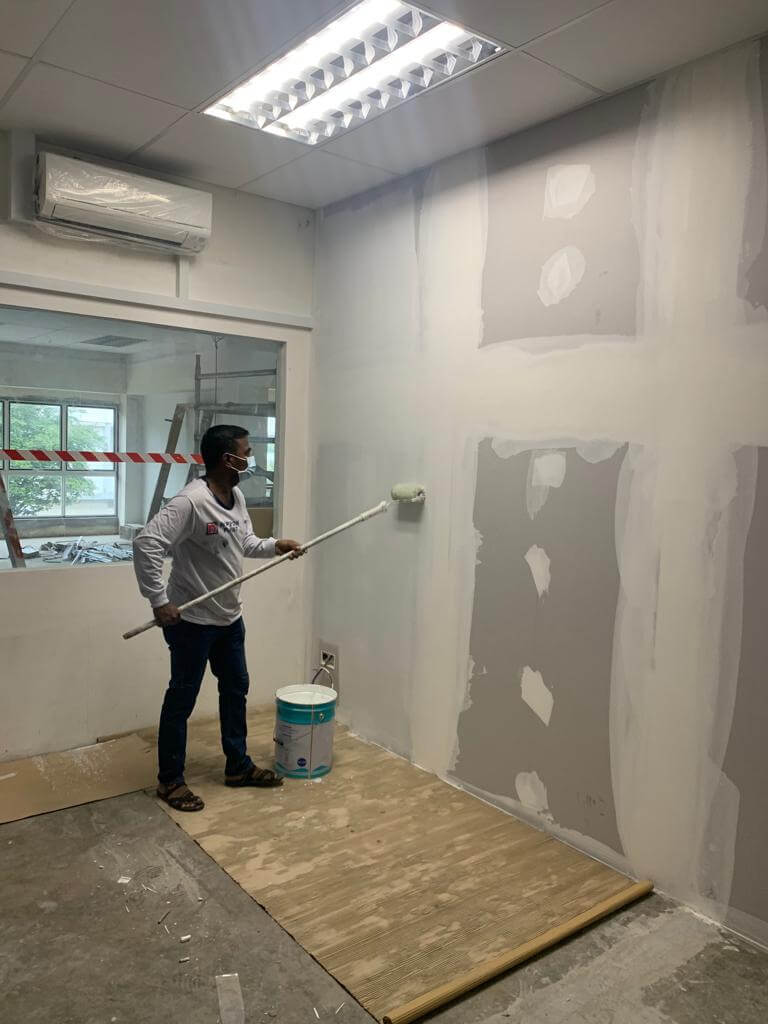
Step 8: Paint Your Walls
Open the paint box with a cap opener before applying the paint to the rollers. Use a paint stick to mix the paint.
You can make use of a paint tray or a paint grid. When painting for the first time, use a paint grid to easily remove excess paint from rollers. Starting the paint from cut-in areas.
The short nap rollers are ideal for use on flat walls. Submerge the rollers in paint, but do not completely submerge them; use the rollers to touch the paint.
Repeat until the rollers are completely covered in paint. If you use a paint grid, the paint does not drip in the rollers. You must apply the pain in rollers with care.
Refer: How to Choose the Paint Rollers for Walls?
How Much Paint will be Required?
It is determined by the size and shape of the area. Don’t forget about the windows and doors. Calculate the area to be painted while excluding the window and door areas.
Multiply the number of coats of paint required; at least two coats are required. Then divide the total by the square meter/liter of paint you’ve chosen.
It will provide you with the required liter of paint. It differs from one painting to the next.
Step 9: How Do You Paint on a Wall?
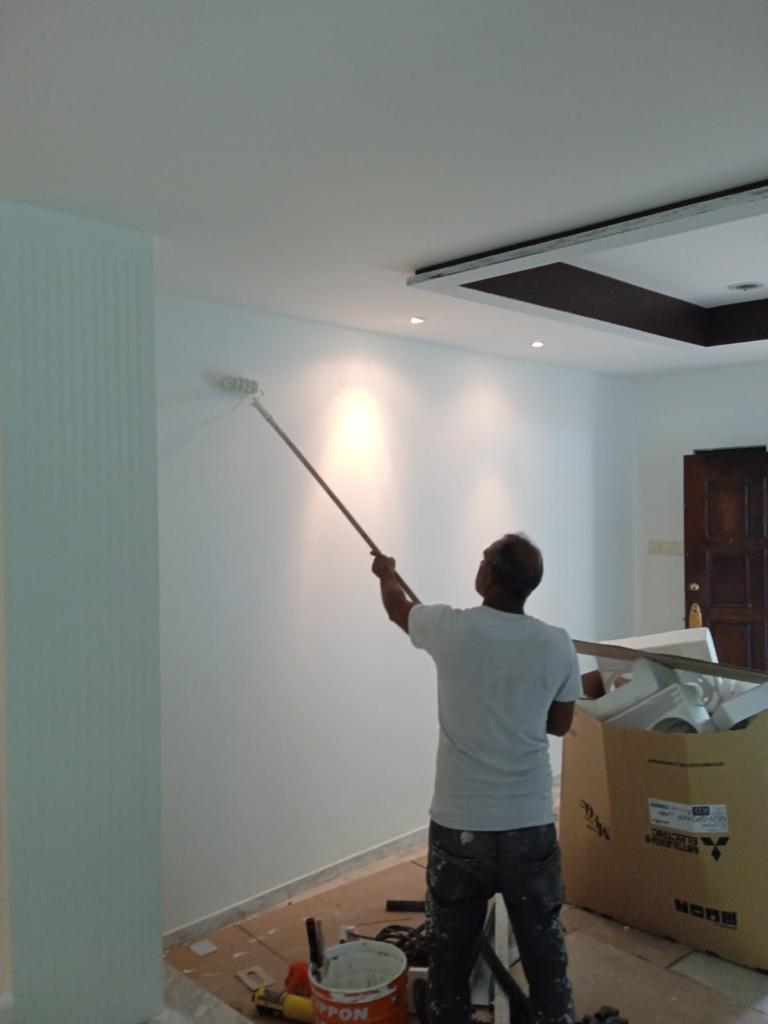
Begin with slow strokes on the roller, beginning with the “V” or “W” shaped pattern on the wall. Slow strokes eliminate the spatter issue caused by rollers.
When painting the walls, employ minimal pressure on rollers. Because high-pressure rollers will leave drippings on the walls. The horizontal strikes should be used to spread the rollers, followed by the vertical strikes.
Don’t choose a large area to paint; instead, divide the painted area by three or four feet in size and paint one for a perfect painting.
Begin with the across the top of the wall and work your way down. When painting a new section, begin with the finished line to ensure a clean and perfect finish.
Step 10: Allow the Painted Walls to Dry
After applying the first coat of paint, allow it to dry for four hours before applying the second coat. Painting setting time is critical, so wait patiently for the paint to dry.
Step 11: Wipe Down the Rollers and Brushes
Ensure that your brushes and rollers are cleaned after painting. It’s a laborious task to remove the paint from those.
When the brushes are dry, it is difficult to remove the paint. Rearrange the furniture and clean the floor. The task of cleaning brushes is difficult after finishing the painting.
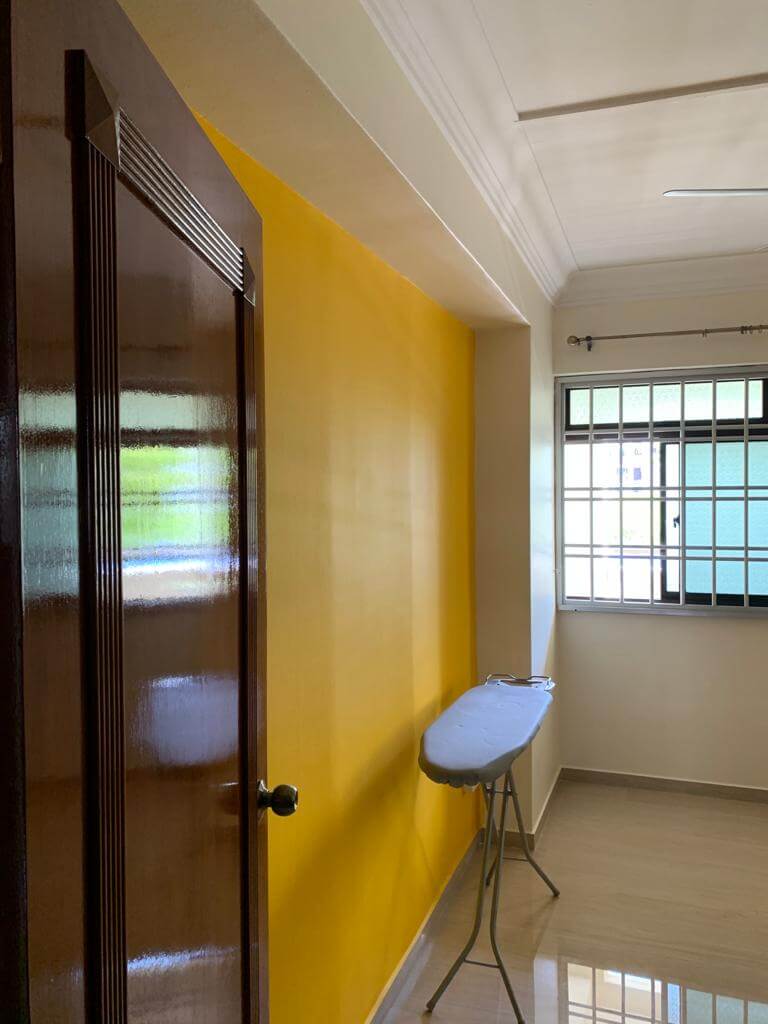
Conclusion
If you’re going to paint a wall at home, make sure to follow the steps outlined above. You can paint a wall like a professional.
Make time to research painting techniques before you begin painting your wall.
You don’t have time at home to paint your walls.
You can find good-quality professional painting services in Singapore. Don’t hesitate to contact us for high-quality professional painting services.
Also Read: What is the Difference Between DIY and Professional Painting?